Bootstrap Checkbox HTML
Intro
In some instances the elementary items might just get very necessary-- especially the moment you come to need them. As an example just how do your website visitors communicate with the webpages you generate stating a basic Boolean action-- simply yes or no pertaining to a couple of the thoughts you should request, exactly how they do consent to the conditions and terms or perhaps line up a handful of the attainable choices they might possess. We normally surpass this with no paying very much of an attention to the component chargeable for these kinds of actions however the Bootstrap Checkbox Form is really a very serious component-- one our forms can't actually complete without.
Located in the latest fourth edition of the Bootstrap platform we are delivered with the .form-check and .form-check-label classes to expose the good old default checkbox component and in the event you would most likely want them piled simply just ensure you have definitely wrapped them within an additional <div> with the .form-check class appointed to it. In order your checkboxes to display properly in Bootstrap 4 you have to additionally select the .form-check-label class to the <label> element and the <input> tag itself should carry the .form-check-input class.
The best way to make use of the Bootstrap checkbox:
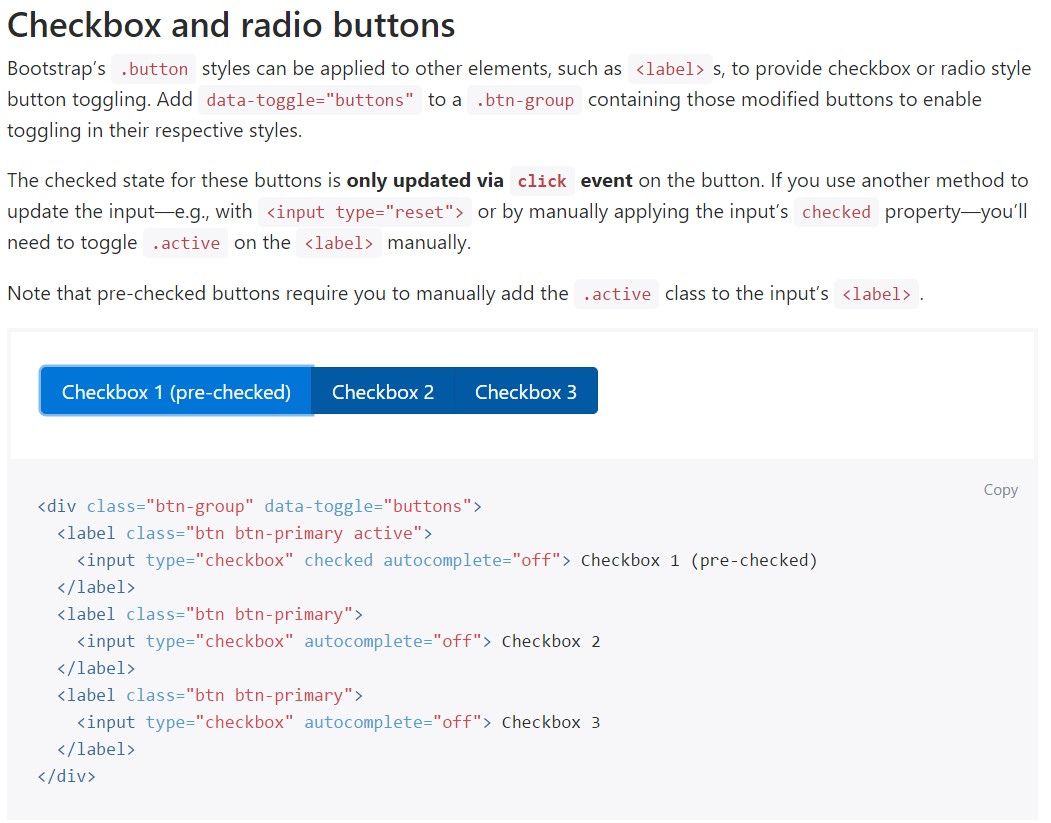
The inspected condition for all of these buttons is only upgraded via click event on the button. If you use some other solution to improve the input-- e.g., with <input type="reset"> or by manually applying the input's checked property-- you'll must toggle .active on the <label> manually.

<div class="btn-group" data-toggle="buttons">
  <label class="btn btn-primary active">
    <input type="checkbox" checked autocomplete="off"> Checkbox 1 (pre-checked)
  </label>
  <label class="btn btn-primary">
    <input type="checkbox" autocomplete="off"> Checkbox 2
  </label>
  <label class="btn btn-primary">
    <input type="checkbox" autocomplete="off"> Checkbox 3
  </label>
</div>
In some cases we want to have the checkboxes to be inside our forms without the user actually having the ability to take some activity clicking on them-- that's where exactly the disabled option appears in.
Just to disable efficiently a checkbox in Bootstrap 4 applying the basic HTML attribute disabled attribute along with simply providing it you could easily in addition format the cursor whenever the website visitor hovers over the disabled element altering it to a "not allowed " icon producing your forms more instinctive and easy to work with.
On the occasion that you find appealing the concept and indeed would like to accomplish this you really should designate the .disabled class to the parent .form-check feature so as the effect to feature ideal though the whole component has been actually hovered-- this will make it considerably even more obvious
Another situation
Anytime utilizing checkboxes, wrap all of them in a <label> element with the Bootstrap 4 .custom-control as well as .custom-checkbox classes used.
Apply .custom-control-input with the certain <input> element.
In addition put into action two <span> elements: one with the .custom-control-indicator class utilized, and the other with .custom-control-description ( plus set the current label within this element).
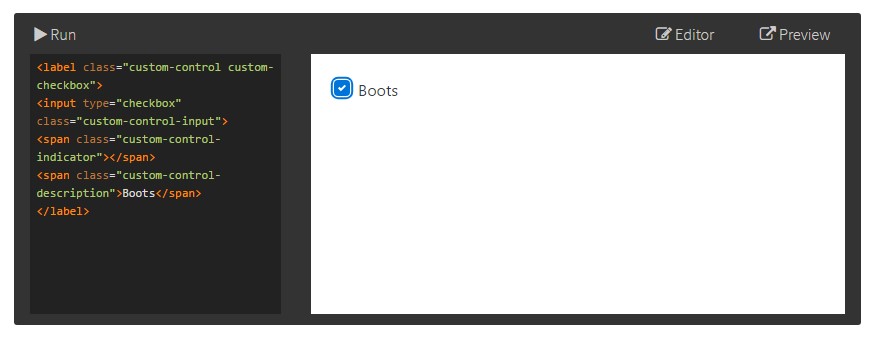
<label class="custom-control custom-checkbox">
<input type="checkbox" class="custom-control-input">
<span class="custom-control-indicator"></span>
<span class="custom-control-description">Boots</span>
</label>
Bootstrap Checkbox State forms
Default radios and checkboxes are enhanced upon with the assistance of .form-check, a singular class for both of these input types that betters the layout and behaviour of their HTML components. Checkboxes are for picking one or else a handful of choices in a selection, while radios are for selecting one choice from several.
The disabled class will in addition light up the text message color to help signify the input's state.
A fresh aspect for the Bootstrap edition 4 framework is the introduction of the so called custom-made form features. These are actually the same components we are familiar with inside practicality however designated much more desirable and with the Bootstrap means. By having them you can certainly bring in certain excitement as well as charm to your web content with simply just assigning a handful of additional classes to the commands you involve in your forms.
To apply custom-made checkboxes wrap them in a <label> element assigning to it the .custom-control and .custom-checkbox classes. When making the <input> element verify you have in addition provided the .custom-control-input to it. You ought to also use two <span> elements - one with .custom-control-indicator class utilized and some other having the .custom-control-description class along with the actual specification you would certainly need to have to attach to the label your Bootstrap Checkbox Example.
Final thoughts
That's literally everything you need to do in order to set a checkbox feature inside your Bootstrap 4 powered website page and bring in a number of custom-made flavor to it putting in it a stylish appearances. And now everything you have to do is repeat the drill unless you have actually inspected all of the checkboxes required are readily on the web page.
Examine several online video tutorials regarding Bootstrap checkbox
Connected topics:
Bootstrap checkbox approved information
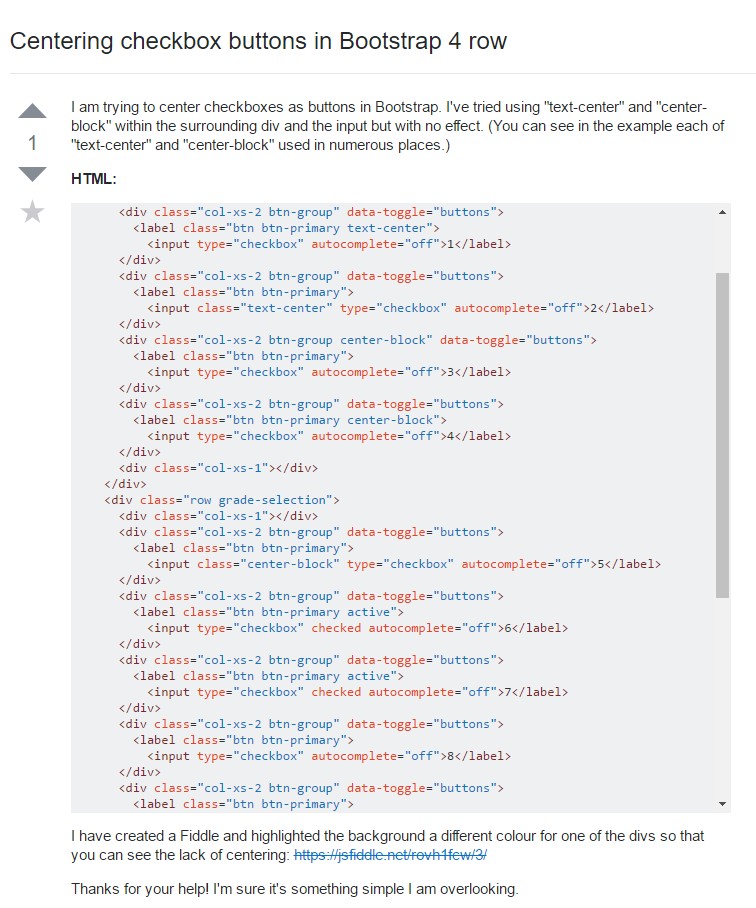
Centering checkbox buttons in Bootstrap 4 row
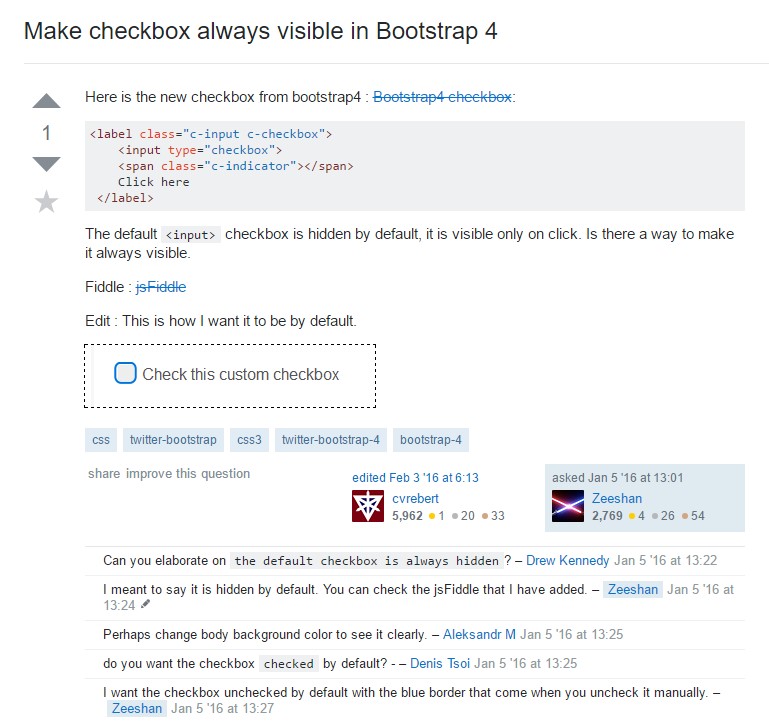
Make checkbox always visible in Bootstrap 4